Hey HVAC techs! I’m Greg Fox, from Fox Family Heating & Air Conditioning, and today we’re going to talk about how I troubleshoot a compressor. This is going to be the single best blog you’ll ever read when it comes to troubleshooting an air conditioner’s compressor. You could also check out our post on How To Troubleshoot An AC Unit.
So you walk into the customer’s home, and they say their AC was working just fine yesterday, but now it only blows warm or room temperature air. So, I confirm what Mrs. Jones has told me. There is room temperature air coming out of the supply vents. That lets me know the blower is running, so I won’t start checking anything there yet.
The next thing I want to do is head to the outdoor unit and check to see if it’s running. As you head around the corner, you can tell it’s not.
Checking for a short to ground.
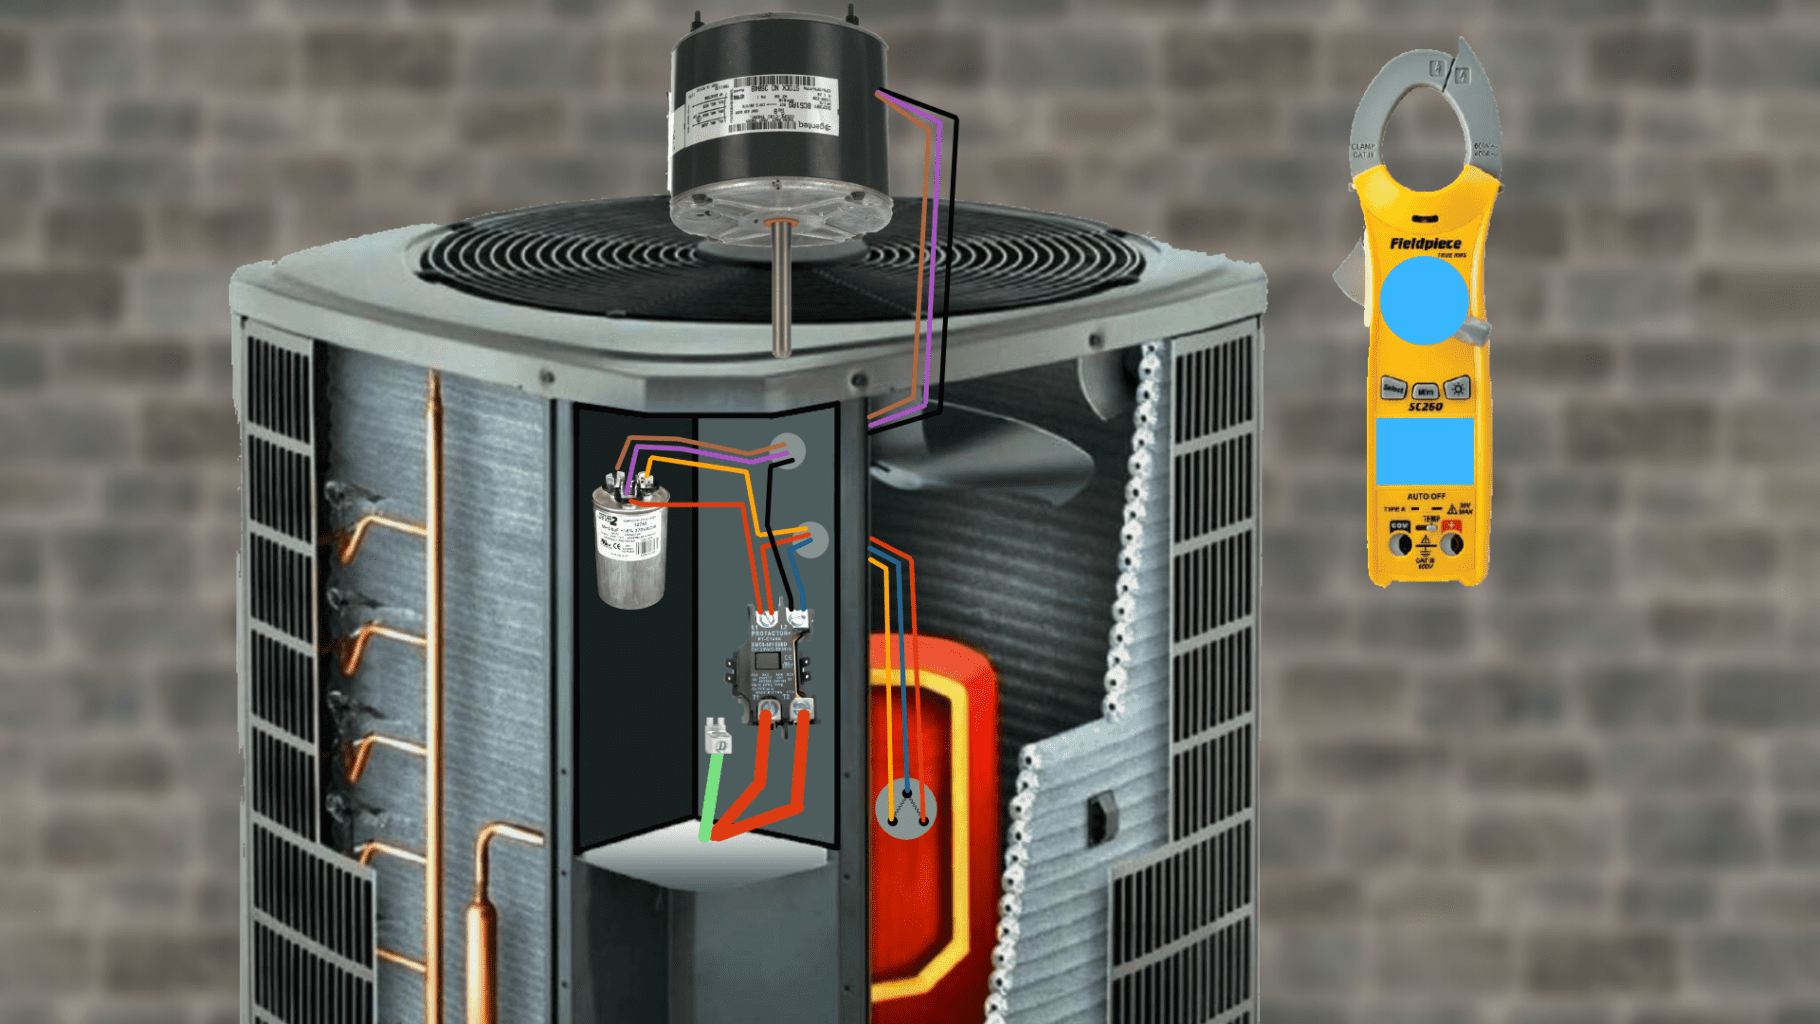
Before going anywhere, check at the contactor to see if anything is shorted to ground. Put your meter setting on “continuity” check. Put one meter lead on the left terminal on the load side of the contactor and one to ground. Do you have continuity there? Try the other load terminal to ground. Do you have continuity there?
If you have continuity at either of these terminals to ground, then something downstream is shorted to ground. Now you just have to find it. It could be:
- Any of the high voltage wiring.
- The contactor
- The capacitor or start capacitor
- The condenser fan motor
- The crankcase heater
Ohm Out The Air Conditioner Compressor
Let’s ohm out the compressor first.
I usually just do this with the wires at the service panel still connected to the compressor. If I see something screwy, I’ll make an effort to check at the terminals themselves.
>I try and stay away from the compressor lugs themselves because those terminals can actually blow out. There’s a few hundred PSI of refrigerant behind those terminals. If they were to blow off while you’re in front of them, they could blow right through your hand, chest, or face. So if I don’t have to go there first, I don’t.

Get your wires that lead to the compressor together. Check your ohm’s reading between Common and Start, Common and Run, and Start to Run. Without going crazy in-depth on it in this video, generally, you’ll notice the resistance between Common and Start will be a little higher than Common and Run. The total of those two numbers is what you’ll read between Start and Run. So, if you had 2.3 ohms between Common and Start and 1.7 between Common and Run, you should have about 4 ohms between Start and Run
If Common to Start and Start to Run is OL, then you have an open start winding. Same on the other side. If Common to Run is OL and Run to Start is OL, you have an open Run winding.
I’m trying to stress the AND here because if you have OL between Start and Common, but when you test between Start and Run, and it’s not open, it’s likely just the internal overload switch that’s open. Let the compressor cool off and retest it before condemning the compressor. You’d hate to charge a customer for a bad compressor when it was just overheated due to another issue.
When the windings on the compressor are defective, the hermetic compressor will need to be replaced. Hermetic compressors like the ones we work on in residential HVAC are sealed. So, we can’t get into them to make any repairs.
What If The Windings Are Good?
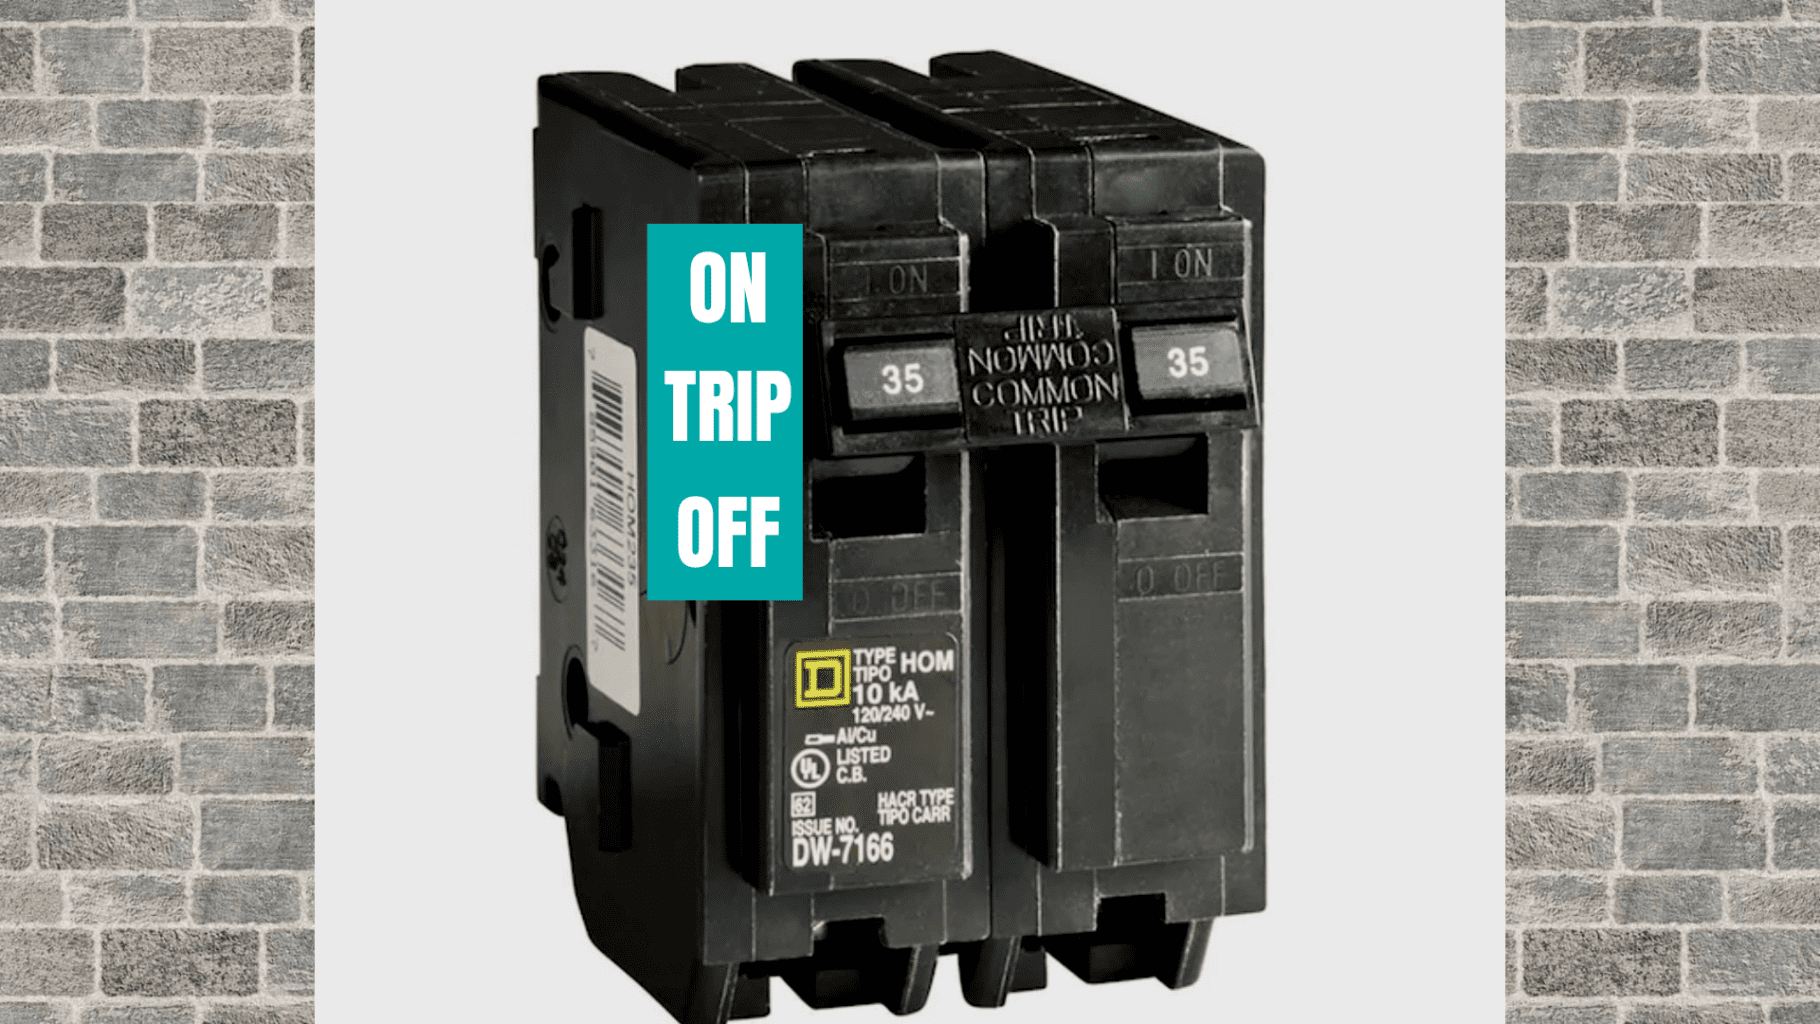
Go check the breaker at the main panel. A breaker has 3 positions. ON, OFF, and TRIPPED. Is it tripped to the middle position? Try resetting the breaker by flipping it to OFF and then back ON again.
Breakers trip due to heat and excessive tripping. Resistance is a source of heat. High current is a source of heat. Hot outdoor temperatures beating down on the southwest side of the house can be a big source of direct heat to the breakers inside the panel.
If the breaker trips immediately, you’ve got an electrical short to ground somewhere. If the breaker trips after running for anything longer than immediately, you could have:
- Excessive current
- Too small of a breaker or fuse
- High indoor return air on a scorching hot day, which will put a ton of stress on the outdoor unit.
- A dirty condenser coil. If the outdoor unit can’t draw in air across its coils, it’ll overheat the AC.

A breaker that trips several times can get weaker and weaker until it takes less heat to trip it. So that’s a possibility to keep in mind.
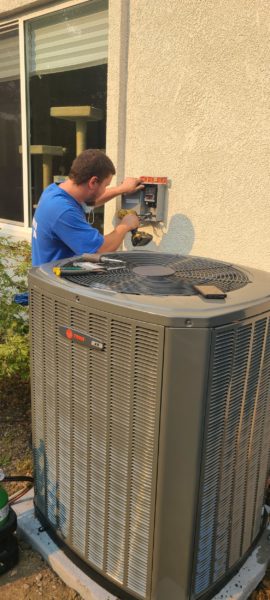
If the breaker is not tripped, turn it off and check the fuses at the disconnect. After checking for no voltage (since I just turned the breaker off), I always remove the fuses to check continuity between each end of the fuse. If either of them is OL, it’s done its job and protected the circuit, but it’s also the reason the AC isn’t starting. Should we just replace the fuse or reset the breaker and move on to our next call? No way! As an HVAC technician, aren’t you dying to find out why the breaker is tripping?
Is It A Locked Rotor?
A locked rotor most commonly happens at the beginning of the season, when it hasn’t been running for a while. If you hear the compressor is trying to run, but it’s not pumping anything, it could be stuck. Put an amp clamp on the Common wire while it’s trying to start. You’ll see the amps skyrocket beyond its LRA.
In this instance, I let the customer know I want to try a hard start kit to see if it will give it that extra little kick it needs to get going. If it doesn’t work, I’ll take the start kit back. But if it does work, they’ll need to buy the start kit from us. At that point, they just need to understand their compressor is on borrowed time.
Bypassing The Compressor
Another thing you can try is, removing the wires from the compressor altogether and just run the outdoor unit with the fan only. If the fan works, great. You can move on. You know it’s not the fan tripping the breaker.
If the fan isn’t working, troubleshoot the fan. You may have to replace the fan motor, cool down the compressor until it’s ready to run again, and retest the system. Rarely do I find the condenser fan motor, and the compressor will have gone bad on the same day. But I guess it can happen.
Internal Overload
Let’s assume we do have good power to the condenser’s contactor and on to the fan motor and compressor. But the compressor’s not working. You can tell the fan works because it’s spinning just fine and even has good amp draws.
Let’s check and make sure the compressor hasn’t overheated and shut down on internal overload before we condemn this thing. Check the resistance (by switching the meter to Ohms) between the Common and Start winding and then do the same with the Common and Run windings. Does the meter show an open circuit on either one of those tests, but not between the Start and Run terminals?
If so, we should let the compressor cool down and retest it.
Letting a compressor cool down on a 100-degree day can take a long, long time, too. I like to use a garden hose to pour cool water over its top and let it run down the sides of it evenly. There is literally a switch inside that compressor that will open or close depending on whether it’s safe to run it or not. Kind of a self-destruct prevention switch.
Why did the compressor internal overload switch open in the first place? A bad capacitor or hard start kit can cause the compressor windings to overheat or just not start at all. So before we diagnose a bad compressor, we should make sure our capacitors are good.
Something that tricked me one time was a bad start kit. I called another tech I worked with, and they told me to try bypassing the start kit by removing it from the circuit. Guess what? The compressor started, and I haven’t heard from that guy again.
Bad Valves? Are You Sure?
Something I hear technicians say a lot is the compressor has a bad valve. Well, today’s scroll compressors don’t have valves. They do have bearings that can go bad! But valves were an issue with reciprocating compressors in earlier models.
If you have decent refrigerant levels but have problems starting and running efficiently with a lot of vibration, or a metal clanking noise, you could have damaged bearings on the compressor.
It’s caused by refrigerant wearing out the oil, creating a situation where copper plating occurs. From there, the compressor overheats and draws higher amps.
Remember, you’ll see higher amp draws on a compressor the hotter it gets outside. But, if a compressor is running anywhere near its RLA, and the refrigerant charge is good, that compressor is hurting.
If any of this sounds like what’s going on with the compressor you’re working on, it could have bad bearings, not bad valves.

Some other things to check
So many things can happen to a compressor to cause it to fail. Not only do you have to diagnose the bad compressor, but you also have to find out why it’s not working. I always tell my customers, the most important day of your system’s life is the day it was installed.
- Contaminated Refrigerant – The only things that should be inside the refrigerant lines are oil and virgin refrigerant. If moisture, air, dust, or anything else gets inside, the lines will become contaminated.
Contaminated refrigerant will become acidic and eat away at the protective coating on the stator windings that make the compressor rotor spin. Once the protective lining has deteriorated, the copper windings will become exposed and fail (in a big way!)
This creates a situation where the compressor shorts directly to ground. A wire has now created continuity with the compressor’s body and completely burns and charrs anything inside it. The oil, the refrigerant, and the compressor components will all become black and lined with soot.
- Burnt wiring – If the terminals attached to the compressor are burnt or barely intact, you can imagine the arcing that occurs across the gap of those loosely stranded wires. That arcing creates an intense amount of current, which creates a ton of heat. Replace the wires and retest the system.
- Incorrect sizing – Equipment or refrigerant lines of the wrong size can create an unbalanced system.
- Indoor evaporator coil isn’t large enough – If this is the case liquid flood back can happen, causing an enormous amount of stress on the compressor.
- Lineset too long – There are maximum lengths of the refrigerant lines listed in the installation manuals for a reason.
- Stress on the lineset – Does the copper lineset go under a sidewalk or under the ground to make a dip in the refrigerant flow? This can create a situation where there’s a ton of liquid refrigerant stuck in the lines right there and cause startup issues.
- Kinks in the lineset – Any sort of restriction, even a stuck TXV, can cause unbalanced pressures during startup.
- Overcharged system – This can cause a lot of stress and locked rotor amps that are super high, preventing the compressor from starting normally. Removing some refrigerant will alleviate the pressure. Sometimes it’s just best to remove it all and start with a fresh charge so you, the technician, know how much is in there. This helps make the diagnostic easier because now you have more information.
What else should folks check when troubleshooting a compressor? Leave me a comment down below to share your expertise. Thanks so much for stopping by, and we’ll see you at the next blog post.
Fox Family Heating & Air Conditioning serves Sacramento, Rancho Cordova, and all of Northern California. If you’re looking to schedule HVAC service in these areas, give us a call!


